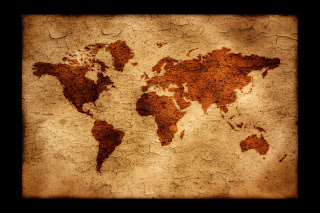
Ok enough is enough. Because so many of you wanted a copy of the map image I used in
last weeks tutorial, I thought I'd upload a copy to the blog. Click the little image to open a bigger one.
Of course having a copy of the image is one thing, but if you really want to learn Photoshop you can't beat making your own map from scratch.
STEP 1:
To make the map you're going to need a non standard photoshop custom shape. A search on Google will throw up a fist full of results but here's
a direct link to a free and decent example by lukeroberts over at DeviantART.
STEP 2:
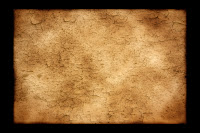
Click on the texture image and open it in Photoshop.
STEP 3:
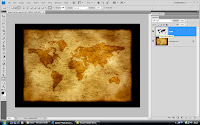
Make a new empty layer and call it MAP. Set your foreground to black. Use the custom shape tool to drag out a map of the world. Hold shift as you drag to keep the map the right shape. Once done change the blend mode to Soft Light.
STEP 4:
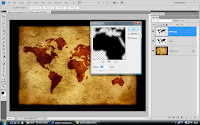
Last step. Duplicate the map layer and click
Filter - Blur - Gaussian Blur. Use a low setting like 4 pixels jsu to blend the map into the texture.
And that's it.


