Wow, doesn’t time rocket past when you’re busy and last week was one of those times. I get to many enjoyable things as a photographer and sometimes I have to remind myself that I’m actually at work. One of the things I enjoy is giving talks to camera clubs and photographic societies all over the UK.
My diary for camera club talks is booking well into 2011, which is great. Usually I try to keep the talks down to a few each month, but last week I presented three lectures in seven days.
Until now, all my talks have been based around Photoshop tutorials. Don’t get me wrong, I really enjoy teaching Photoshop and they’ve always been hugely popular. But to keep things fresh and exciting for the audience (and for me) I’ve been looking for ways to spice things up a little.
So recently I’ve introduced some live photography to each lecture. The plan is to have some sort of “shoot it, Photoshop it” talk ready for 2011, but because live photography is something of a rarity in UK camera clubs I thought I’d better test drive the theory first.
But what do you photograph at night in front of an audience made up of other photographers? After a bit of head scratching I figured out that the simplest and most interesting thing I could photograph was the audience.
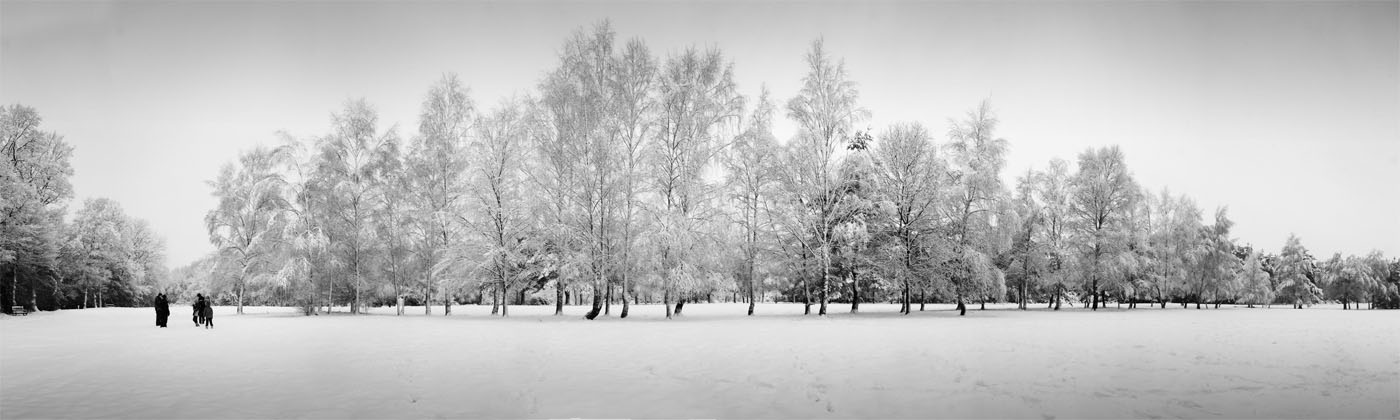
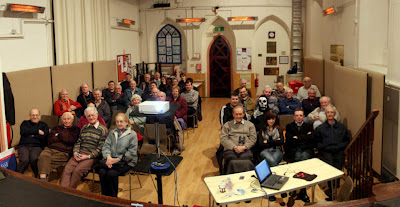
 What you see in the picture above is a panoramic image of the members of Horley Camera Club. It's made up of four images stiched together.
How to take a pano
If you’ve never taken a pano before, the technique couldn't be simpler. The first thing to check is your software. If you’re using Photoshop CS4 or CS3 then you’re in luck as it features the newest version of Photomerge. Similarly, users of Elements 6, 7 & 8 are equally blessed with the panoramic stitching power of Photomerge, although it has a few less features.
The next thing to do is take a series of images. For these shots I used my Canon 24-105L lens at its 24mm setting. I cranked up the ISO to 1600 to avoid the use of flash and overlap each image by roughly 30% to ensure a good stitch.
 How to stitch a pano
Open all the Images in Photoshop and click File – Automate – Photomerge (Elements users click File – New – Photomerge Panorama)
Use the Auto setting and click the Add Open Files button. Click OK and wait for a few minutes as Photomerge does it’s thing.
It’s that simple.
One quick tip. If you’re pano gets the bow tie effect, meaning it’s stretched out at the corners, restitch it with Geometric Distortion Correction turned on (not available in Elements).
Here’s a the pano’s from the other two clubs.
Gravesend
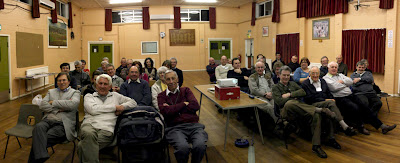
West Malling
One final tip. If you’re coming to one of my talks, dress smart, sit up and smile!
.
 The blog has been strangely quiet over the past 10 days or so. Thank you to everyone who got in contact to make sure I’m OK. You’ll be pleased to hear I’m fine and no I’ve not been off on some exotic holiday or struck down with a terrible illness.


 You can see abigger version on my Flickr page